10.30.2010
11.09.2010
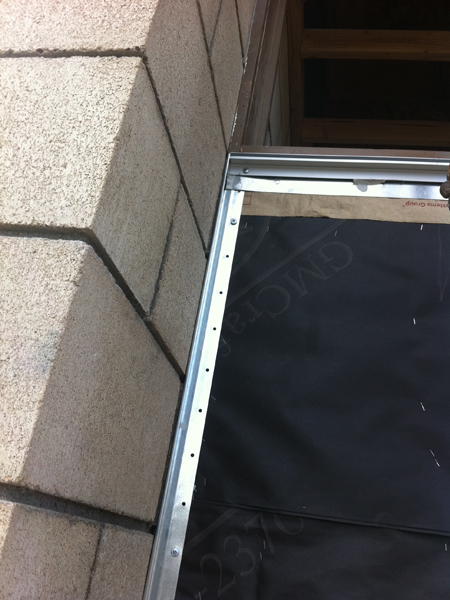
An aluminum screed to stop the stucco finish before it runs into the CMU wall (on the left) and a nice screed around the window frame (on top, this one includes a 'reveal' or space that allows the two materials - wood window frame and cementitious stucco - to coexist).
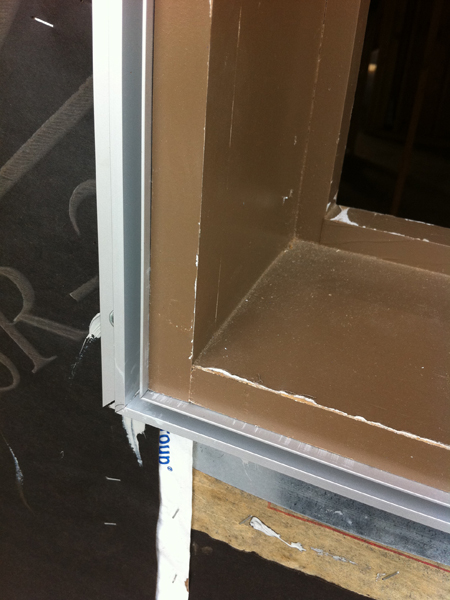
A closer view of the window reveal - after installing and seeing that the assembly is a bit deep, the contractor trimmed it to fit properly.

And a view at the jamb reveal to head flashing connection. The flashing is a bit too prominent but will certainly keep the water out!

Roof party!
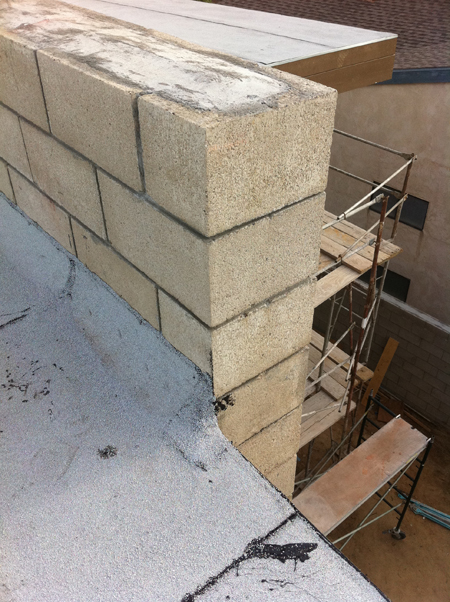
A tough condition at the roof to CMU wall connection; the 'cricket' or upturn at the wall is necessary but doesn't look great at the edge (where the CMU wall ends).
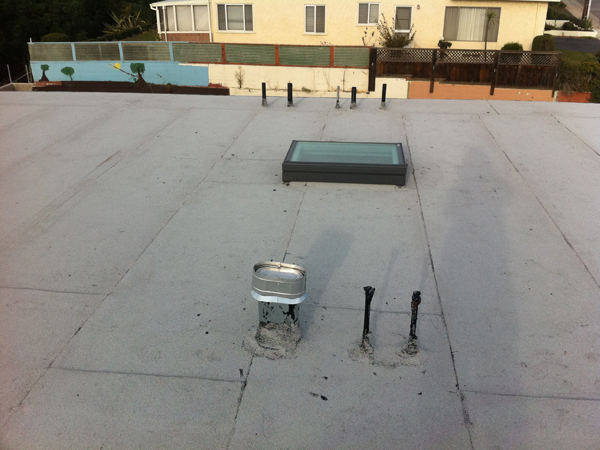
Back up on the roof; skylight, vents and future PV conduit stub ups ready to go.
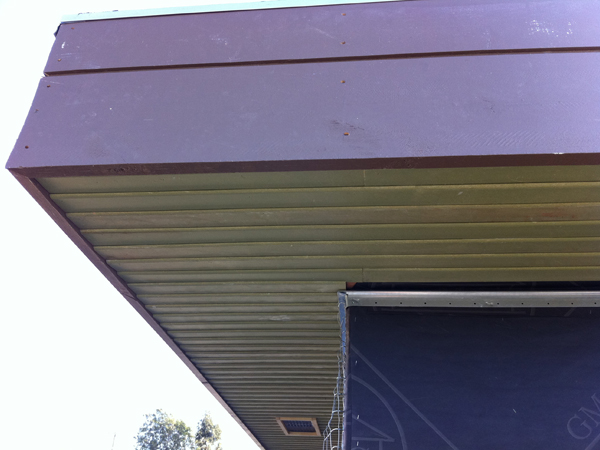
The wood fascia (front face of the roof) and the soffit (exposed underside of the roof) with the newly installed soffit paneling.
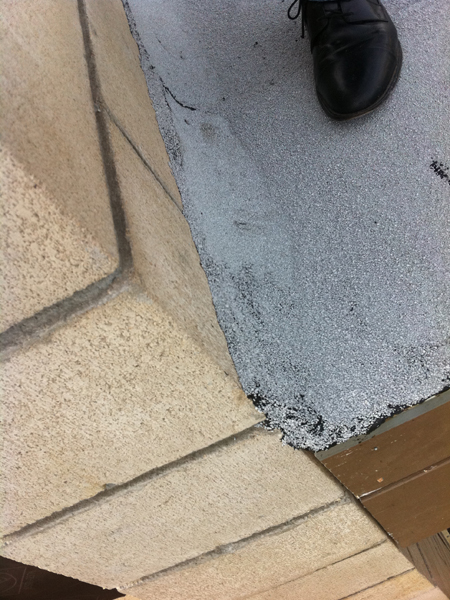
Another shot of the cricket condition at the other end of the CMU wall. Sorry for the tough photo angle! The shoe is for scale purposes only ;)
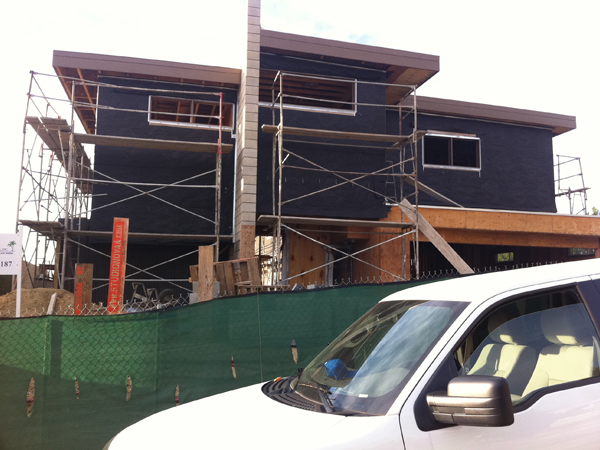
A shot from the street showing the front all wrapped in building paper (a waterproofing layer that is stapled to the plywood sheathing).
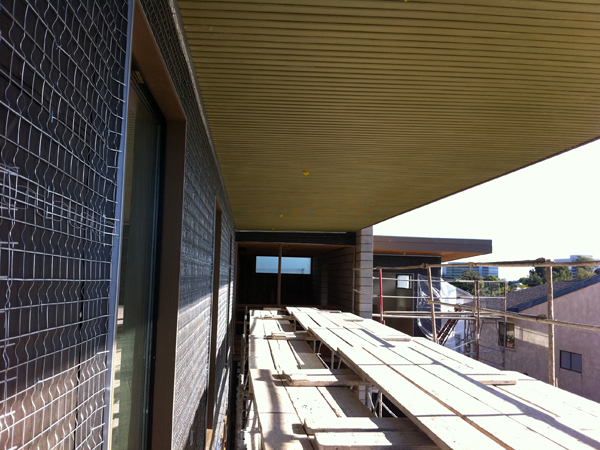
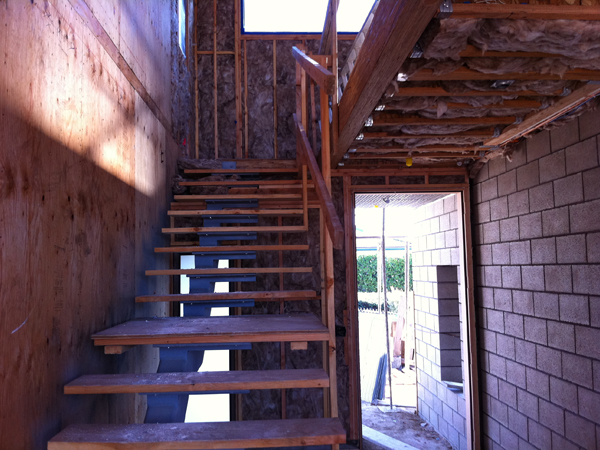
Looking back from the master bedroom deck towards the entry vestibule.
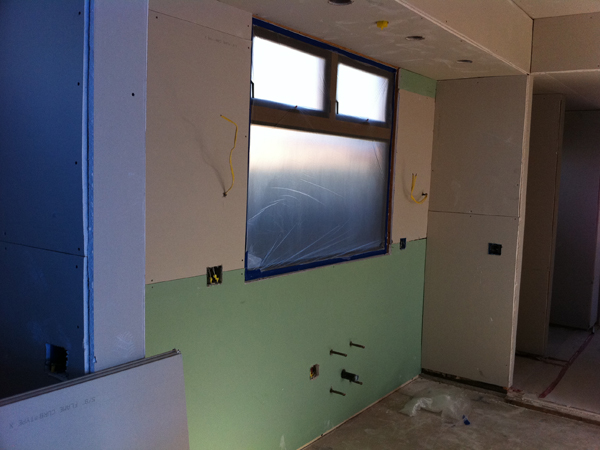
Insulation installed in every wall, floor and ceiling stud space - even those on the interior. By placing insulation in the interior the house will be much quieter.
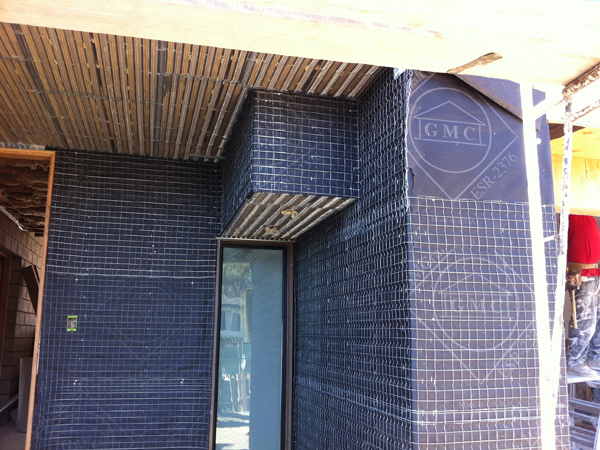
The front entry alcove ready for stucco to be applied. The wire mesh gives the first coat of stucco (first of three) something to hold onto.
Looking into the kitchen where the sink will be. The 'greenboard' is a special type of drywall that is moisture and mold resistant.